Ora Overview
Settings
Customize notifications, charts, the Tracker and your trading displays from one window, saved to your account.
Opening your settings
Section titled “Opening your settings”Click your profile picture at the top right, then Settings.
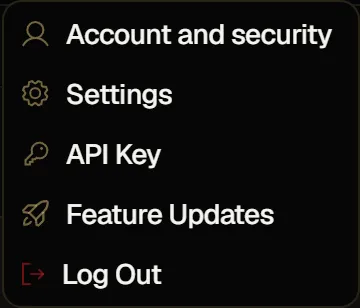
The Settings window groups everything in nine tabs. Scroll the tab bar, or use the arrows at its ends, to reach them all.
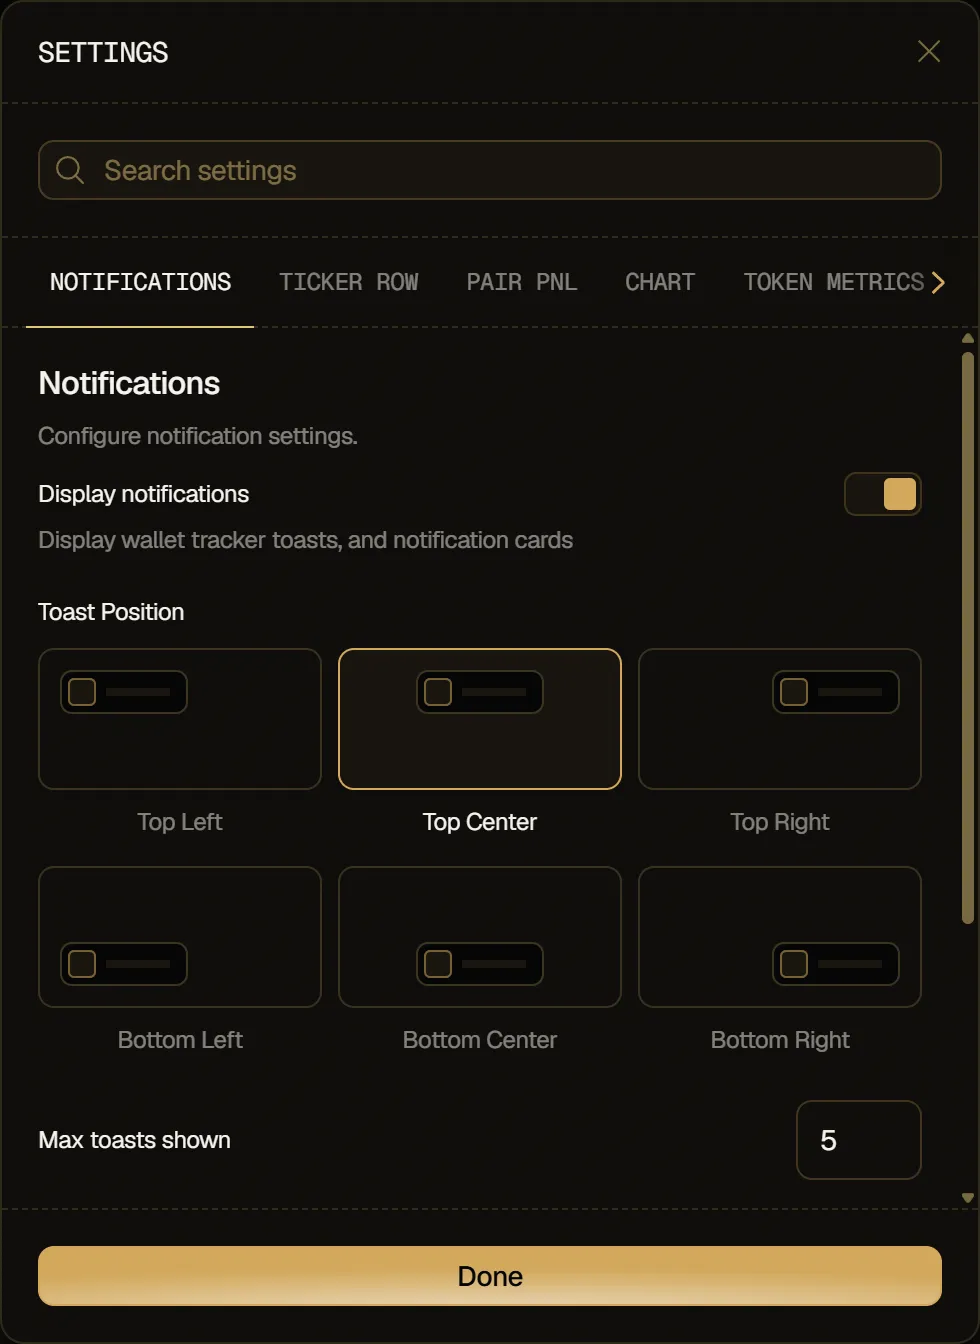
- Search settings: type a tab name or a setting, such as font size or volume, to show only the tabs that match.
- Done: saves the changes you made in every tab, and you get Preferences saved. If you close the window without clicking Done, your changes aren't saved.
Your settings are saved to your Ora account, not to your browser.
Notifications
Section titled “Notifications”- Display notifications: show wallet tracker toasts and notification cards.
- Toast Position: where notifications appear: Top Left, Top Center, Top Right, Bottom Left, Bottom Center or Bottom Right.
- Max toasts shown: how many notifications show at once, from 1 to 10.
- Transaction Sounds: play a sound with each notification.
- Notification volume: from 0 to 100%.
Ticker row
Section titled “Ticker row”Settings for the row of tokens under the header. You can also open them with the gear icon at the start of that row. See Watchlist.
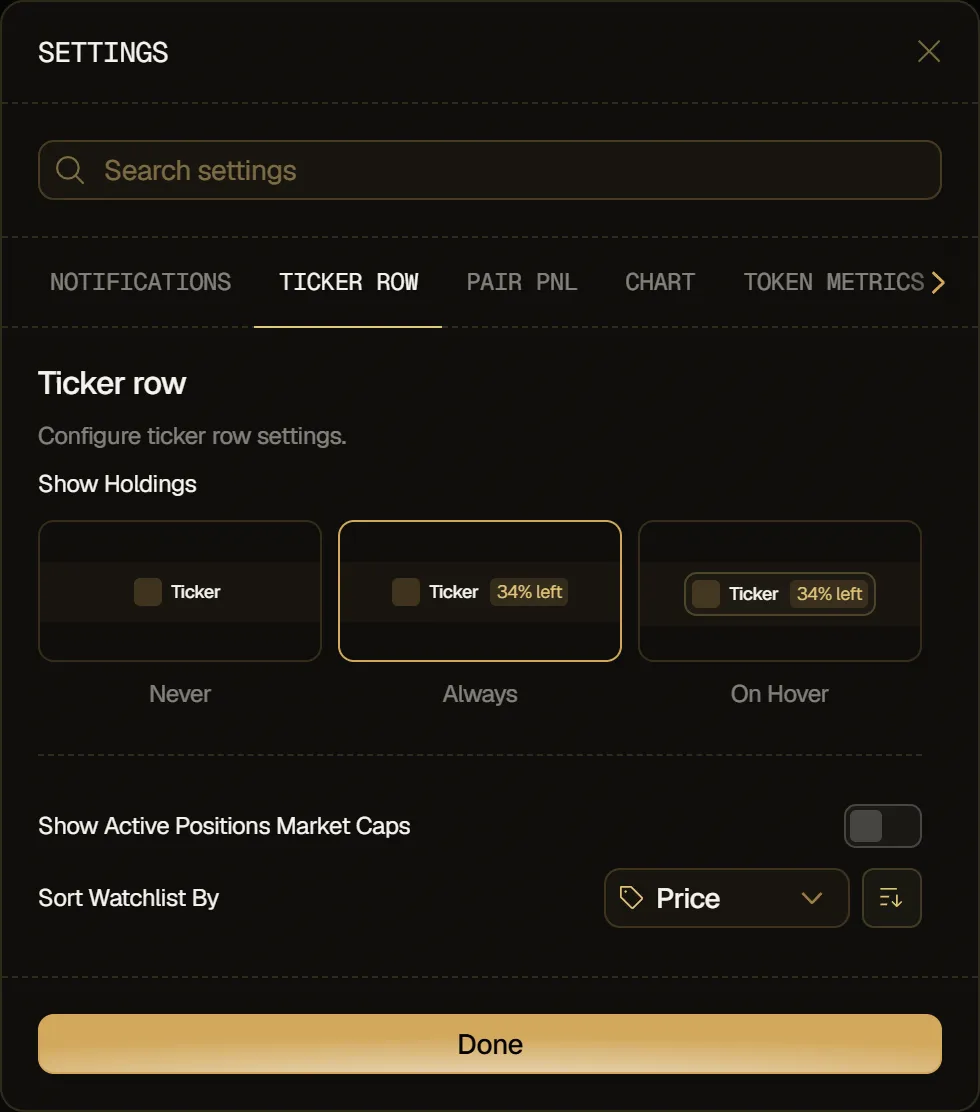
- Show Holdings: when each token shows your holdings: Never, Always or On Hover.
- Show Active Positions Market Caps: show each token's market cap when the row lists your active positions.
- Sort Watchlist By: Price, Name, Created at or Added. The arrow button next to it switches between ascending and descending order.
Pair PNL
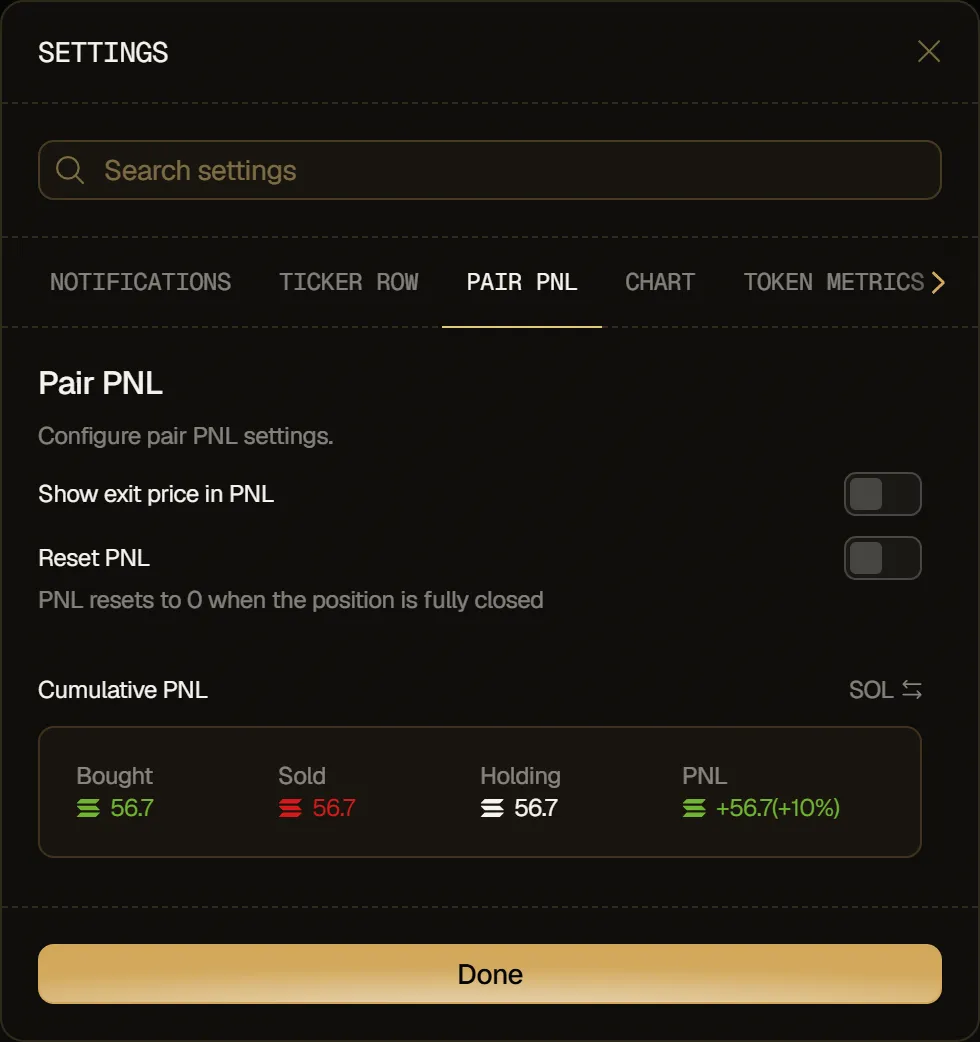
Section titled “Pair PNL”- Show exit price in PNL
- Reset PNL: PNL resets to 0 when the position is fully closed.
- Cumulative PNL: click the unit to switch between SOL and USD. The preview shows Bought, Sold, Holding and PNL in the unit you pick.
The Chart tab has two parts: General and Bubbles.
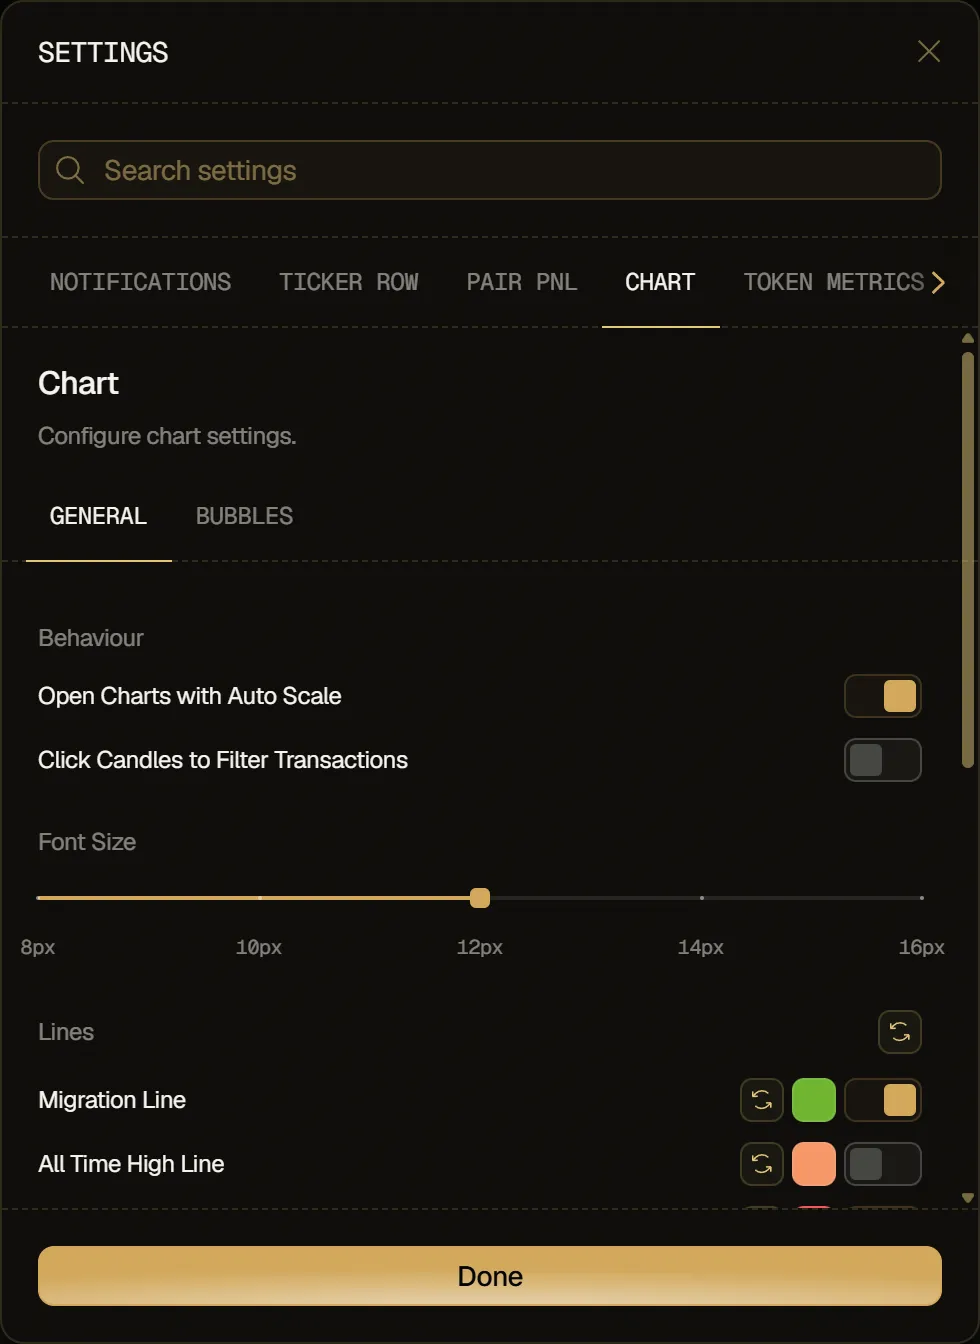
Under General:
- Open Charts with Auto Scale
- Click Candles to Filter Transactions
- Font Size: 8, 10, 12, 14 or 16 px.
- Lines: turn each line or zone on or off, pick its color, or reset it: Migration Line, All Time High Line, Limit Sell Lines, Mirror Sell Zones, TWAP Sell Zones, Limit Buy Lines, Mirror Buy Zones and TWAP Buy Zones. The reset button next to Lines restores the colors of all of them.
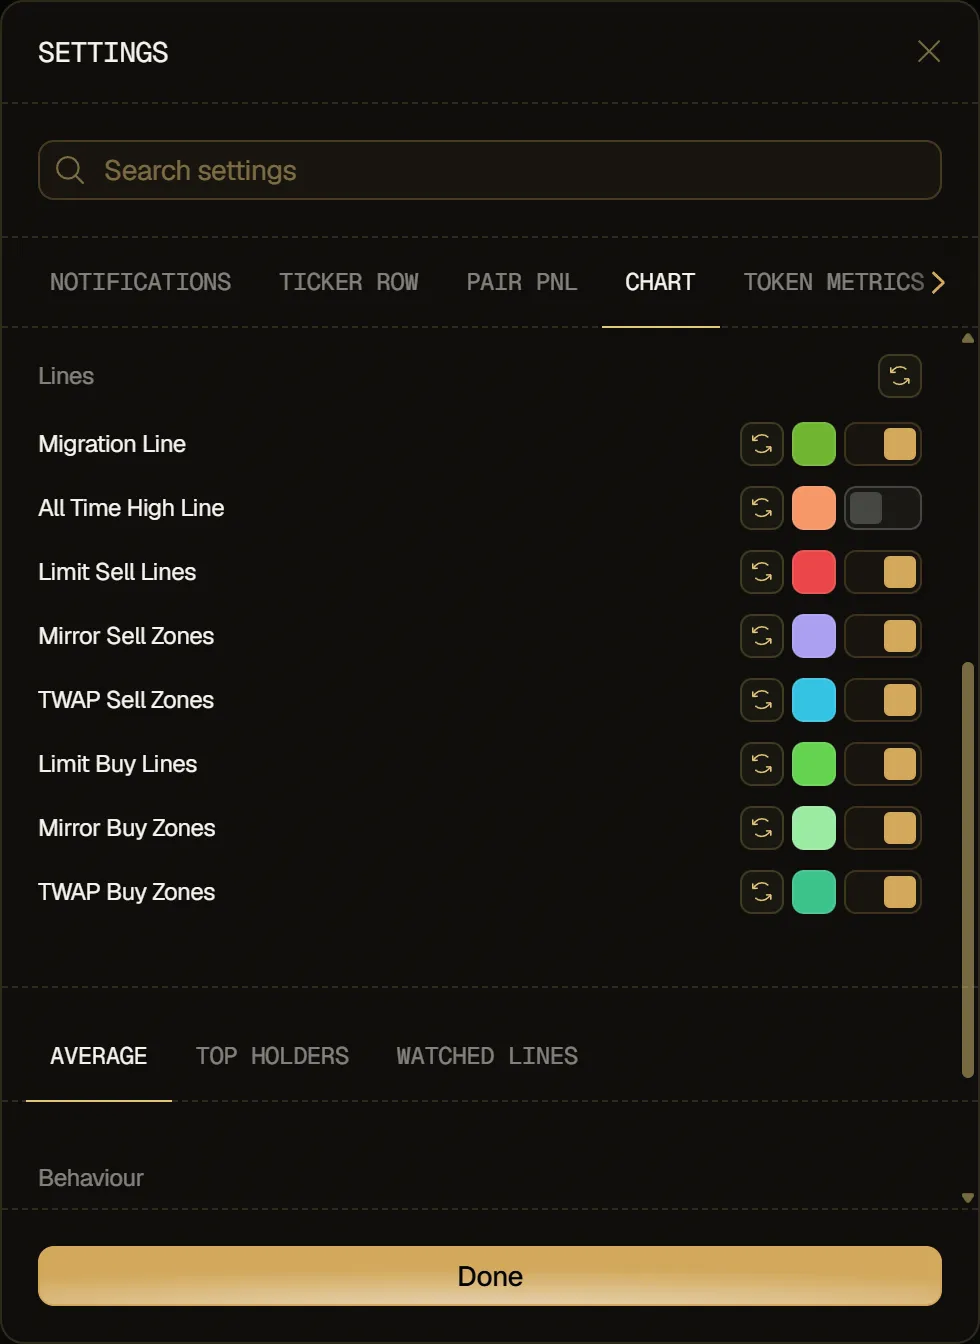
Below, three tabs set more lines drawn on the chart. Lines with a color button can be recolored, and their reset button restores the default.
- Average: turn Average Buy Line, Average Sell Line and Break-Even Line on or off, and set their colors.
- Top holders: Number of Holders (1 to 20), then turn Top Holder Buy Line and Top Holder Sell Line on or off, and set their colors.
- Watched Lines: turn Top KOL Lines and Top Tracked Lines on or off, set their colors and the side their label sits on (Left or Right), and show Tracked Amounts and KOL Amounts in SOL, USD or % Percent.
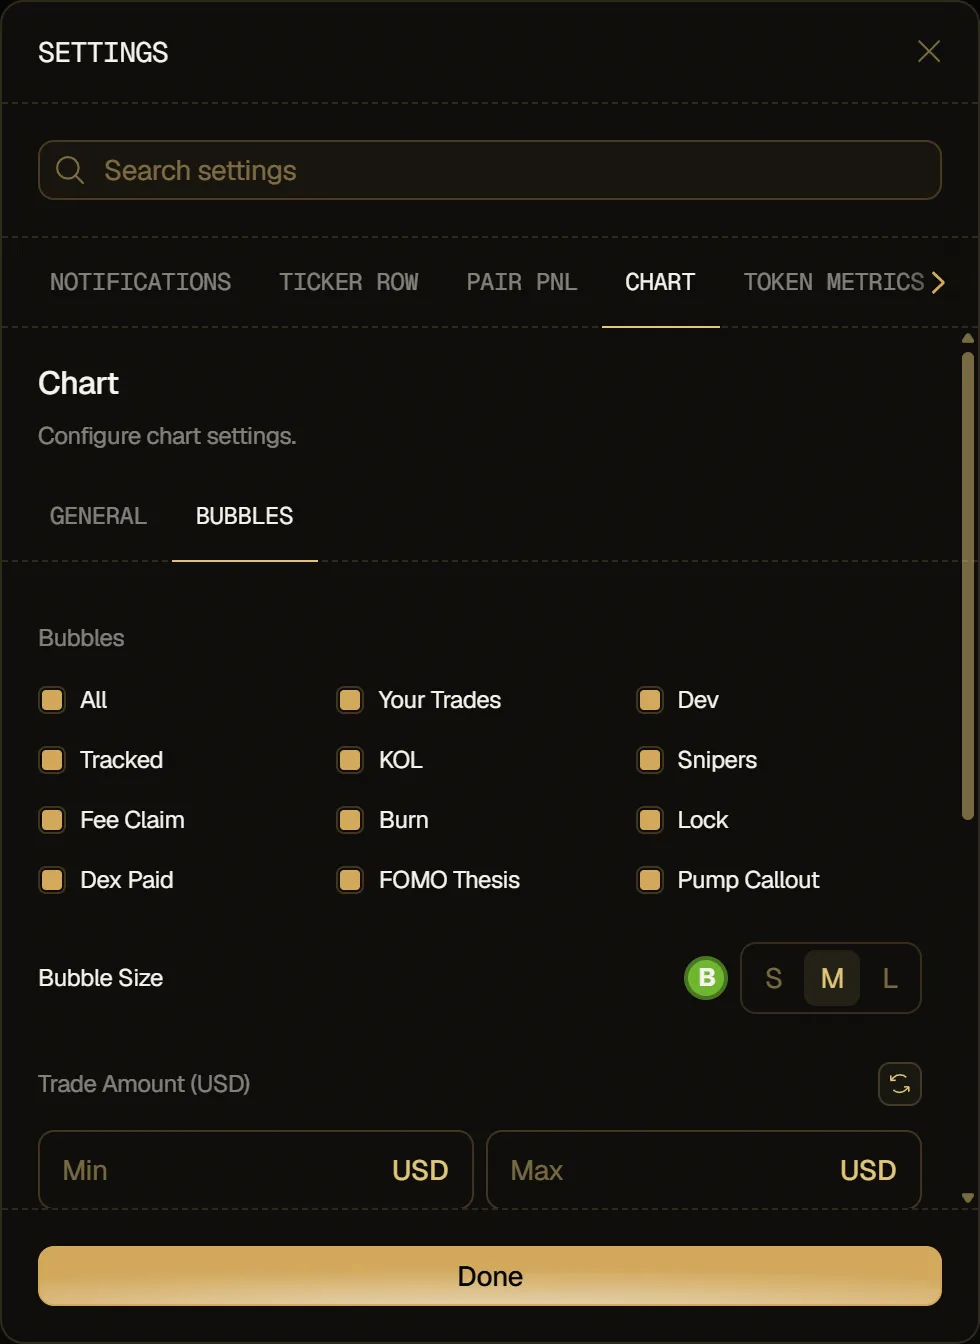
Under Bubbles, you set the markers the chart draws for trades and events:
- Bubbles: tick what the chart shows: All, Your Trades, Dev, Tracked, KOL, Snipers, Fee Claim, Burn, Lock, Dex Paid, FOMO Thesis and Pump Callout.
- Bubble Size: S, M or L.
- Trade Amount (USD): a Min and a Max, to show only the trades in that range. An empty field means no limit.
- Show Bubble Info In SOL
- Buy Bubbles and Sell Bubbles: the colors of your own, dev, tracked, KOL and sniper trades. Each color has its reset button, and each group has one for all its colors.
Token Metrics
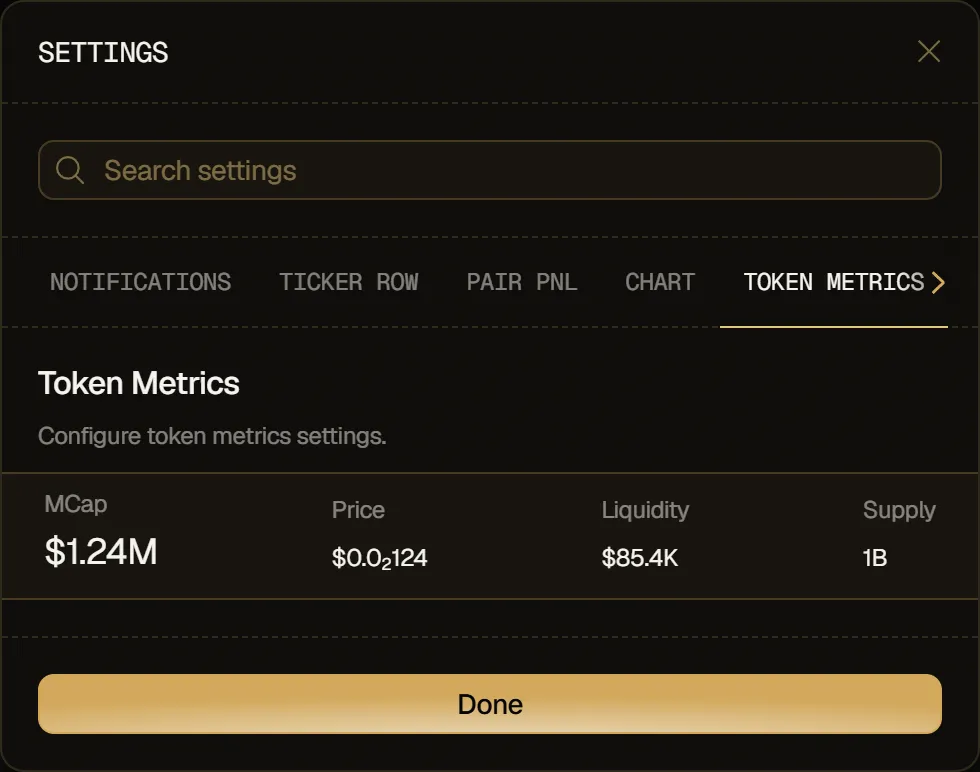
Section titled “Token Metrics”Drag MCap, Price, Liquidity and Supply to change their order. The first metric shows larger than the others.
Buy/Sell Display
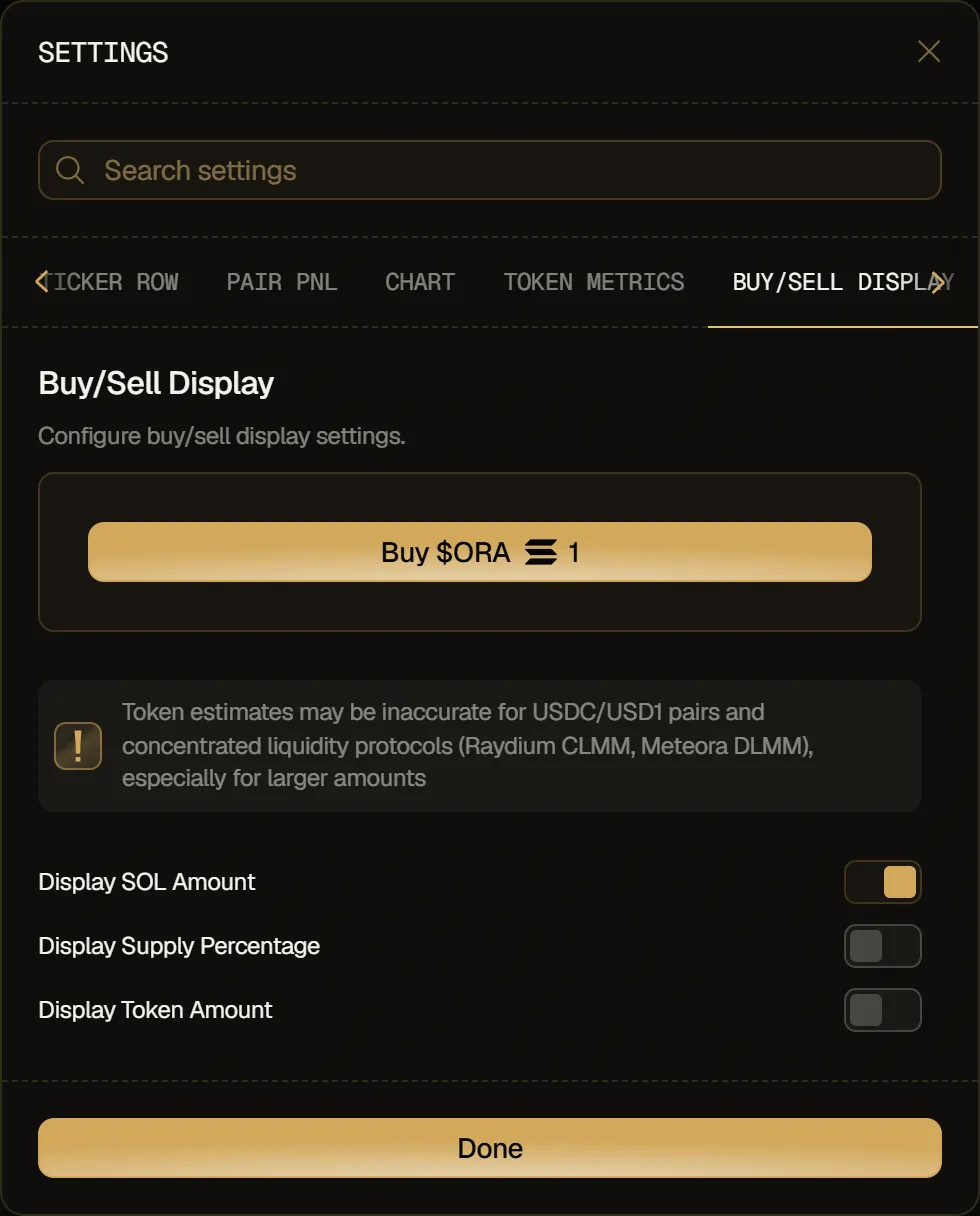
Section titled “Buy/Sell Display”Choose what the trade buttons show, previewed on a sample Buy button. Under the preview, a note warns that token estimates may be inaccurate for USDC and USD1 pairs and for concentrated liquidity protocols (Raydium CLMM, Meteora DLMM), especially for larger amounts. Below it:
- Display SOL Amount
- Display Supply Percentage
- Display Token Amount
Tracker
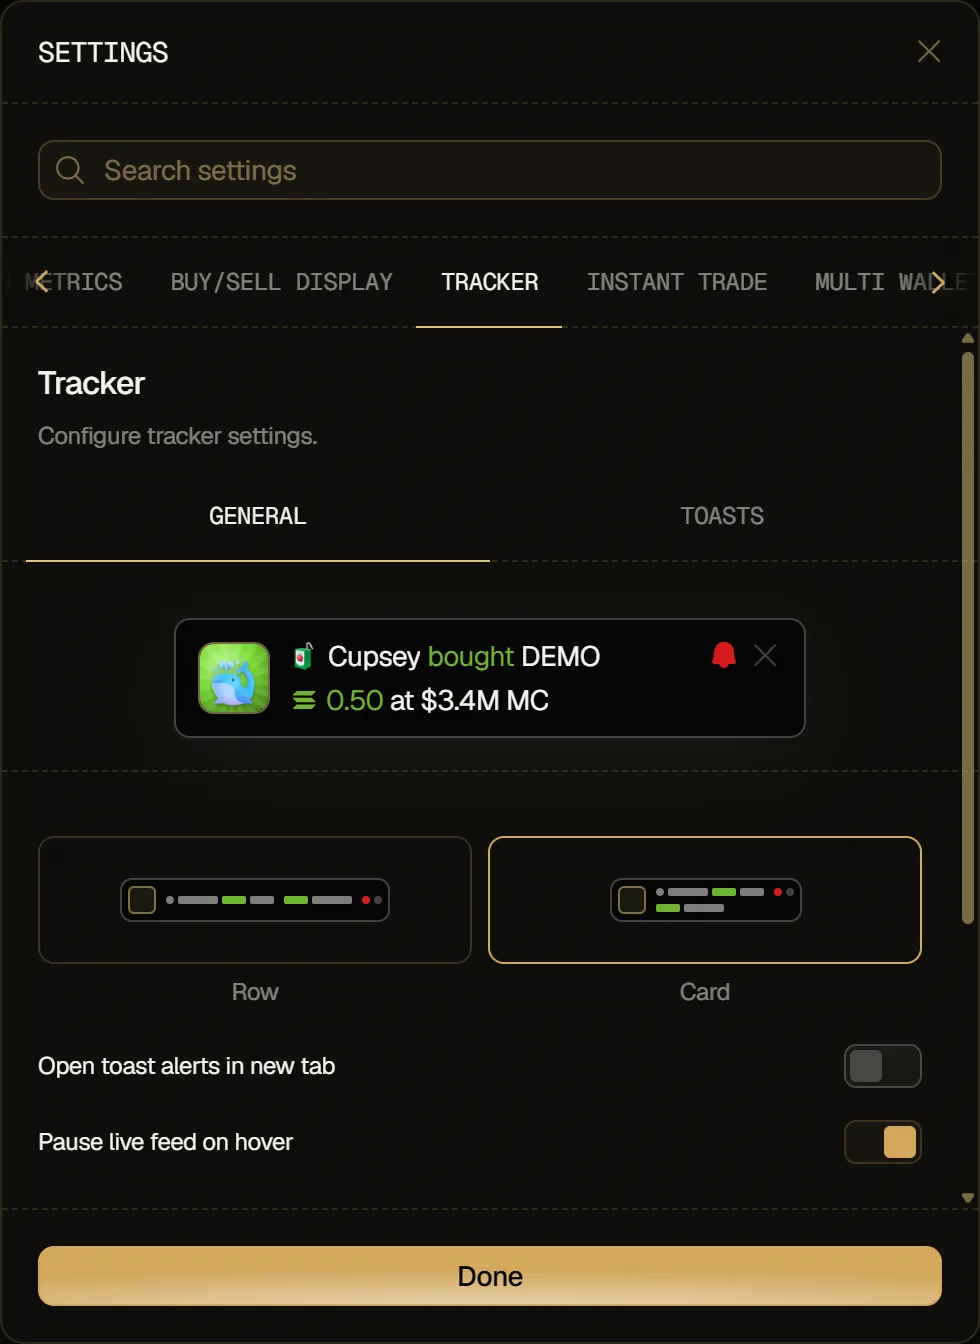
Section titled “Tracker”Settings for the alerts of the wallets you follow in the Tracker, in two tabs.
General
- Row or Card: the layout of tracked wallet toasts.
- Open toast alerts in new tab
- Pause live feed on hover
- Sound Alerts: play sound alerts for alerted wallets.
- Volume: from 0 to 100%.
Toasts
- Emoji and Name: what each toast shows about the wallet.
- Color Border on Toast
- Toast Duration: from 1 to 10 seconds.
Instant Trade
Section titled “Instant Trade”Settings for the Instant Trade widget, with a preview at the top.
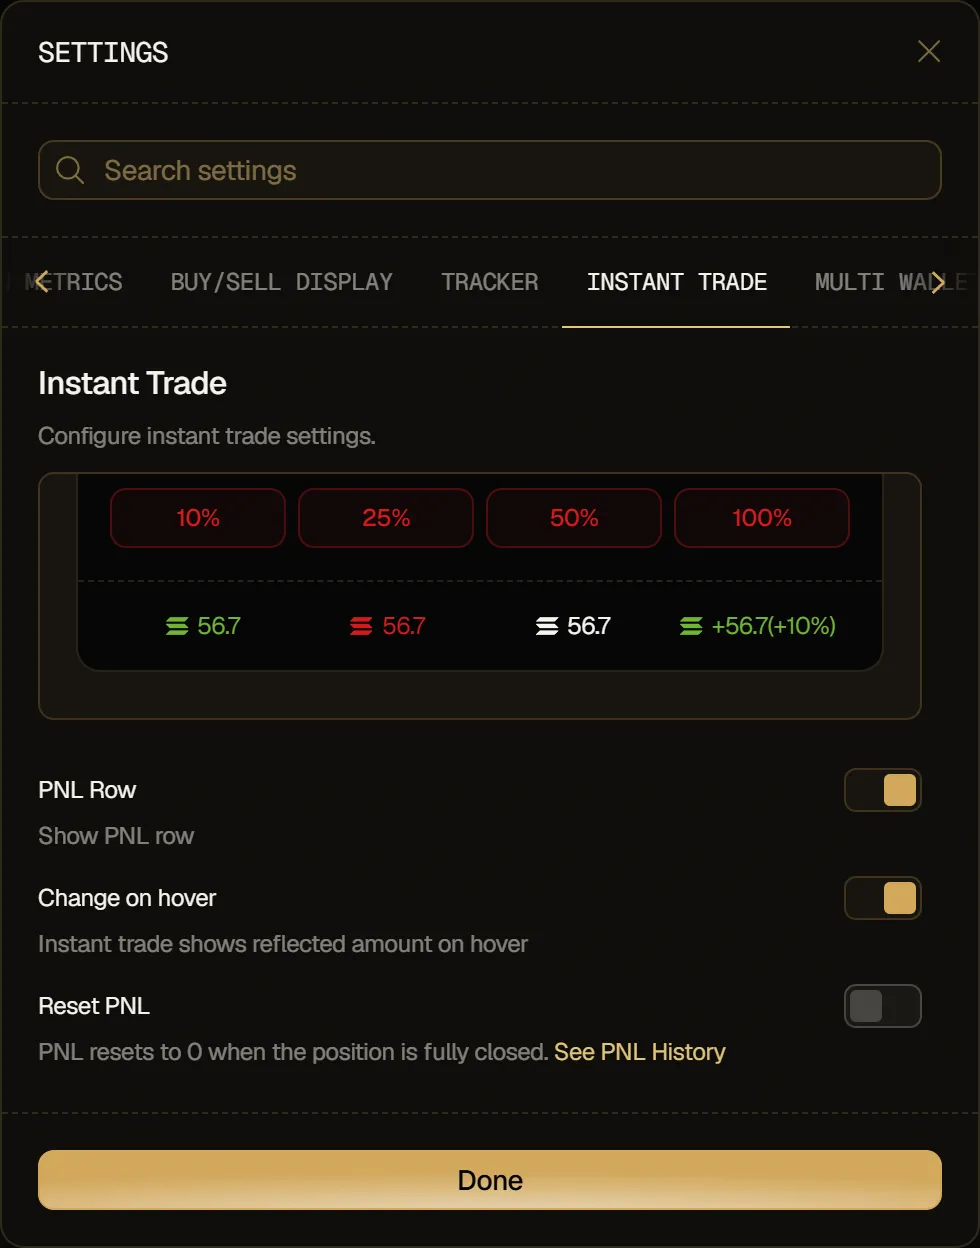
- PNL Row: show the PNL row.
- Change on hover: Instant Trade shows the reflected amount on hover.
- Reset PNL: PNL resets to 0 when the position is fully closed. See PNL History saves your settings and opens your PNL calendar.
Multi Wallet
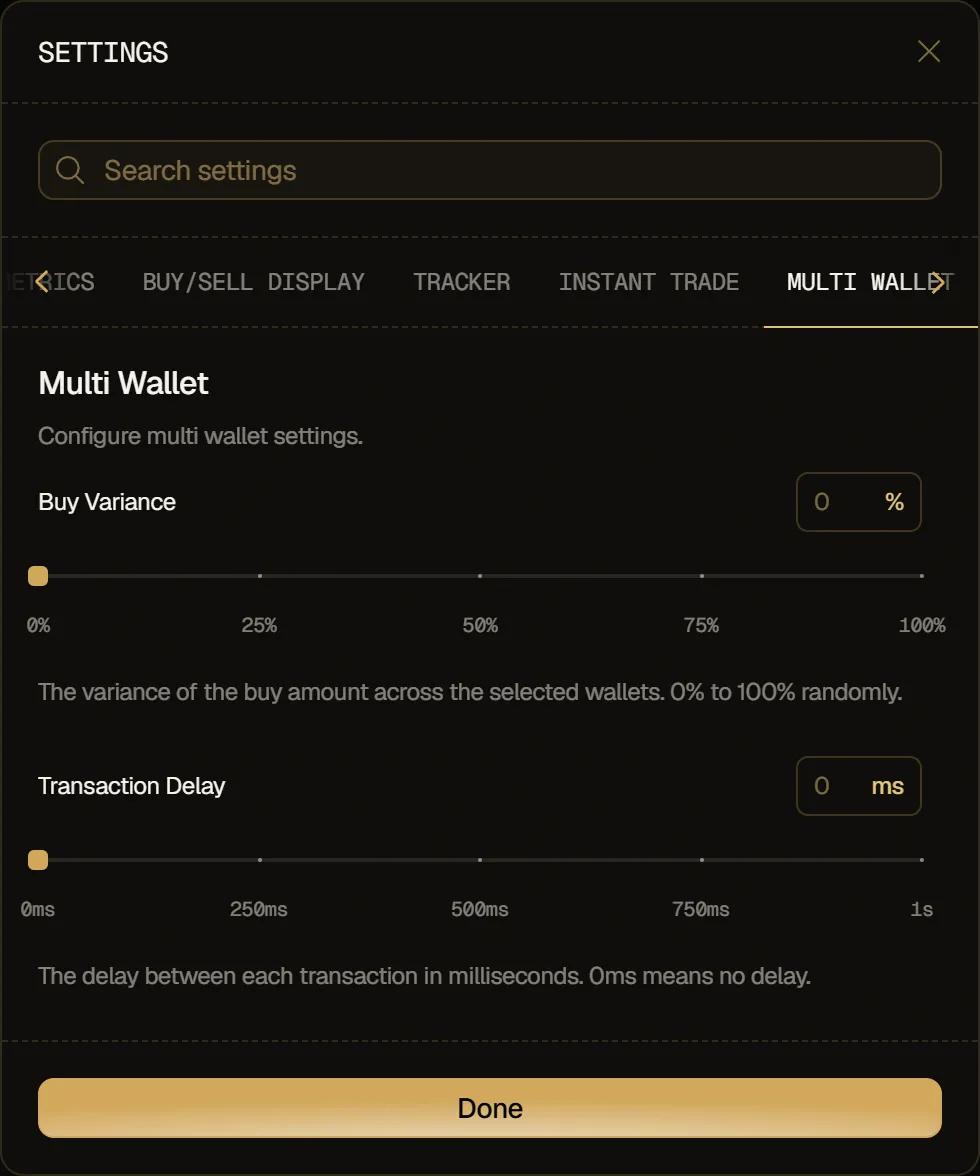
Section titled “Multi Wallet”- Buy Variance: how much the buy amount varies at random between the selected wallets: 0, 25, 50, 75 or 100%.
- Transaction Delay: the delay between each transaction: 0, 250, 500 or 750 ms, or 1 s. 0 ms means no delay.
Appearance
Section titled “Appearance”The colors and the font of the app are set outside the Settings window: on a computer, click the palette icon at the right end of the footer to open Appearance.
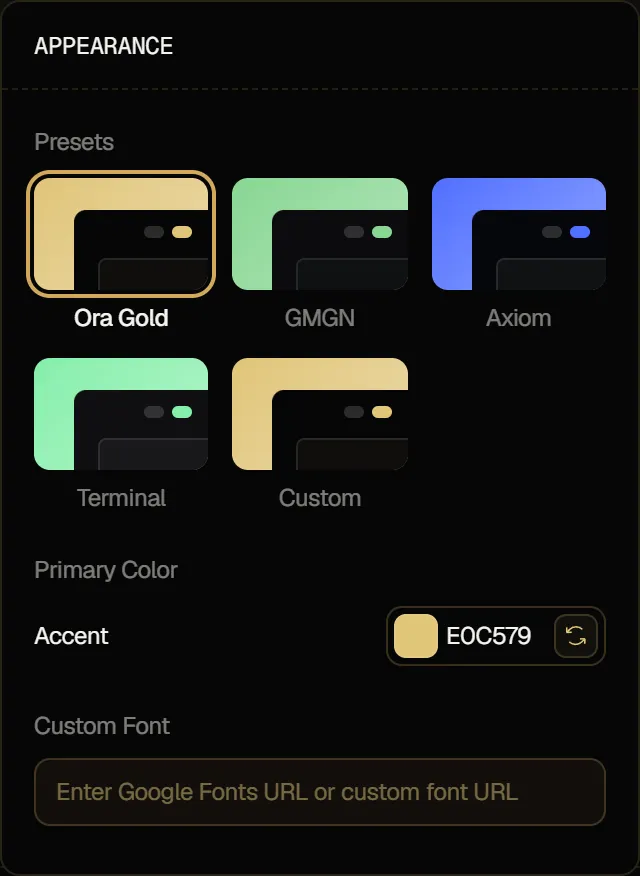
- Presets: Ora Gold (the default), GMGN, Axiom, Terminal or Custom.
- Primary Color: the Accent color of the theme in use. Its reset button restores the theme's own color.
- Custom theme: with Custom selected, pick the Background Color, the Card Background and the Button Color.
- Custom Font: paste a Google Fonts URL or the URL of a font file. Empty the field to go back to Ora's own font.
Your appearance is saved in your browser, not to your Ora account.