Managing your Token
Trade Settings
Customize how your trading terminal looks and behaves, from notifications and chart to execution presets.
Tune how the trading terminal works and looks.
Most of these settings are in Settings in your account menu, which groups them in nine tabs. They are described below in the order of those tabs, except Tracker, which is covered in Tracker. Each one also opens from where you use it:
- The notification settings open from the bell in the footer.
- The ticker row settings open from the gear in the ticker row.
- The chart, trading metrics, buy amount display and PNL settings open from the icons next to the token metrics, at the top of the token page.
- The instant trade and multi-wallet buy settings open from the instant trade widget and its wallets panel.
Your buy/sell presets and the traders table settings aren't in Settings: you set them on the token page itself, as shown at the end of this page.
Settings tabs
Section titled “Settings tabs”Notifications
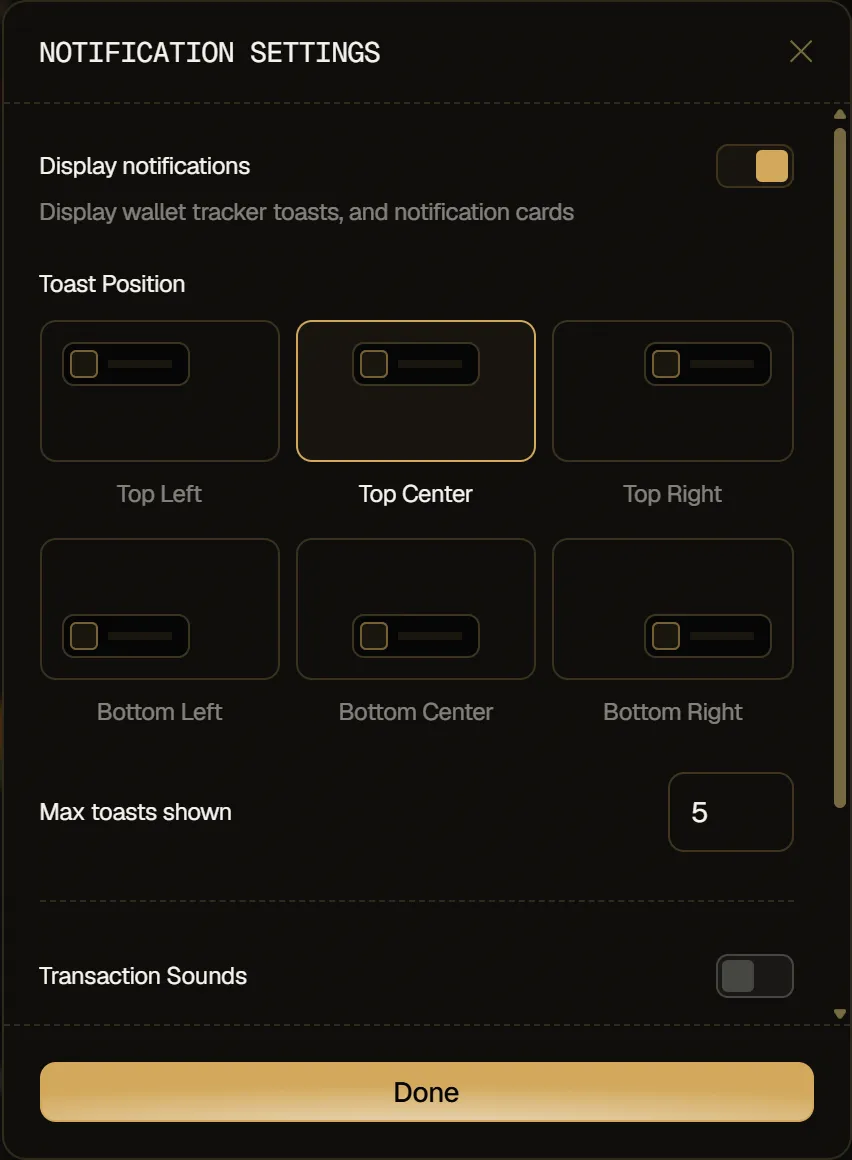
Section titled “Notifications”Choose how and where notifications appear, how many show at once (Max toasts shown), and turn on Transaction Sounds with their Notification volume so you know when something happens.
Ticker row
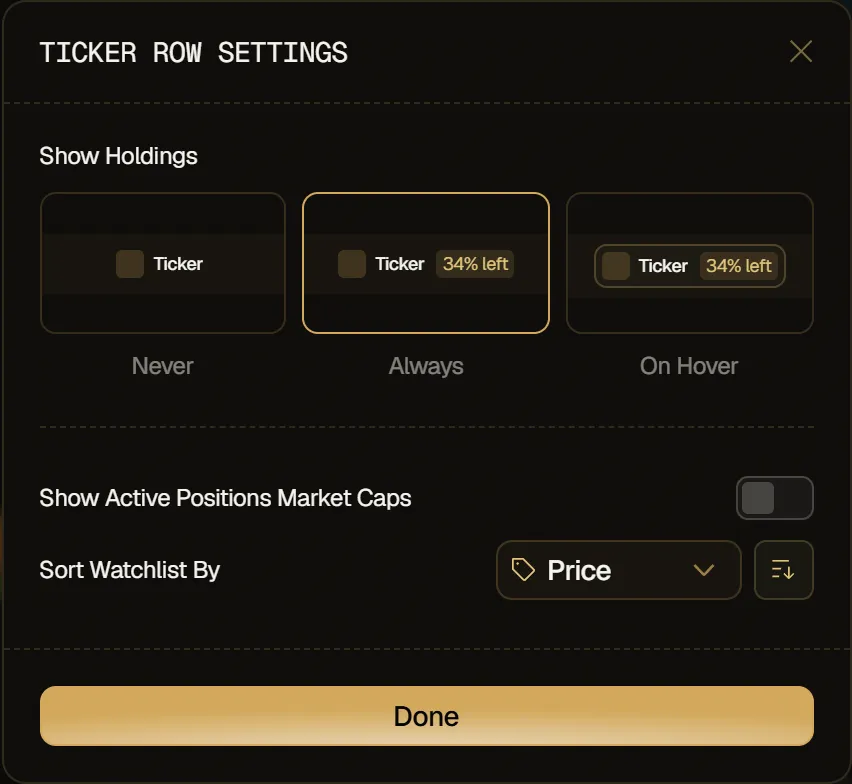
Section titled “Ticker row”Edit the ticker row under the header: choose when Show Holdings displays your holdings on each token (Never, Always or On Hover), turn on Show Active Positions Market Caps, and sort your watchlist by Price, Name, Created at or Added.
Pair PNL
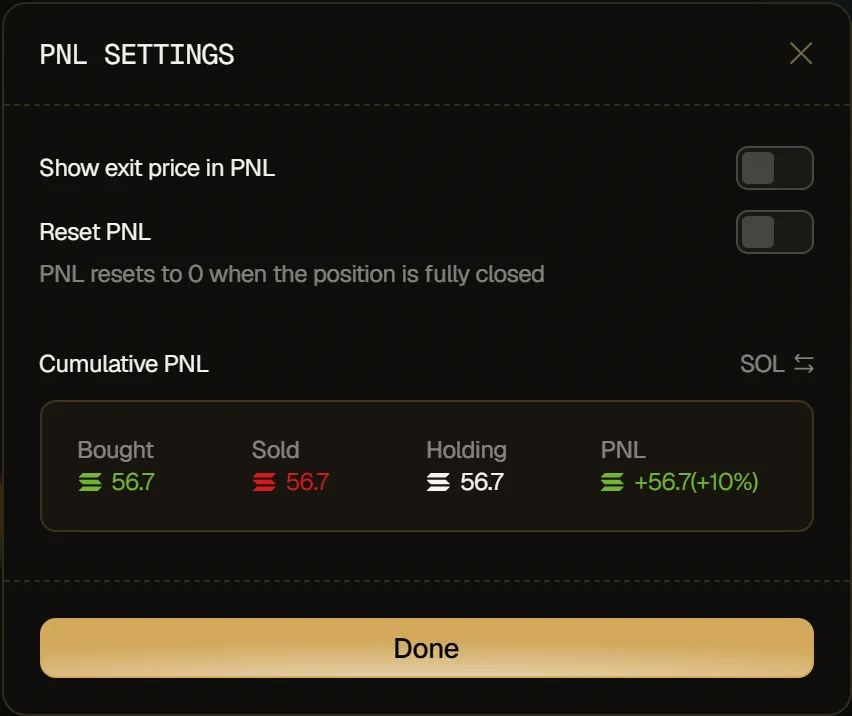
Section titled “Pair PNL”Choose how your PNL is displayed (Show exit price in PNL, Reset PNL, Cumulative PNL), and switch between SOL and USD.
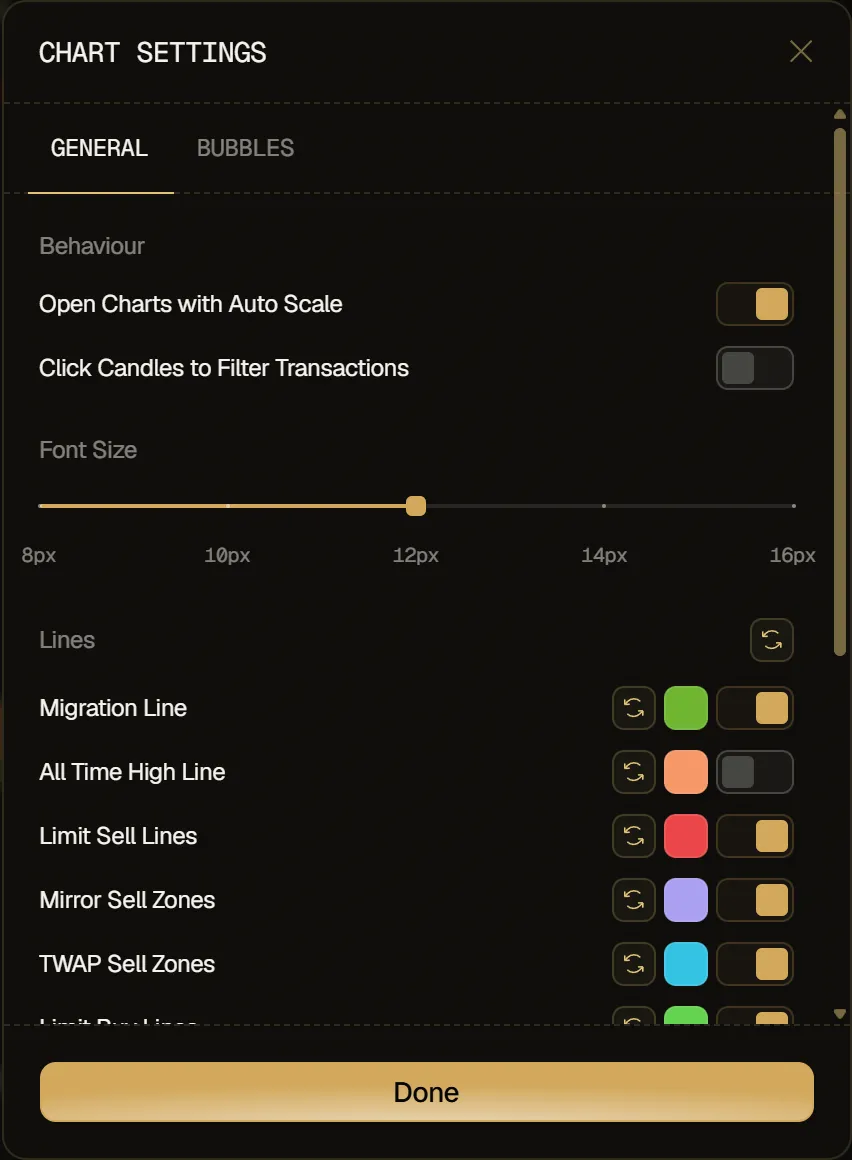
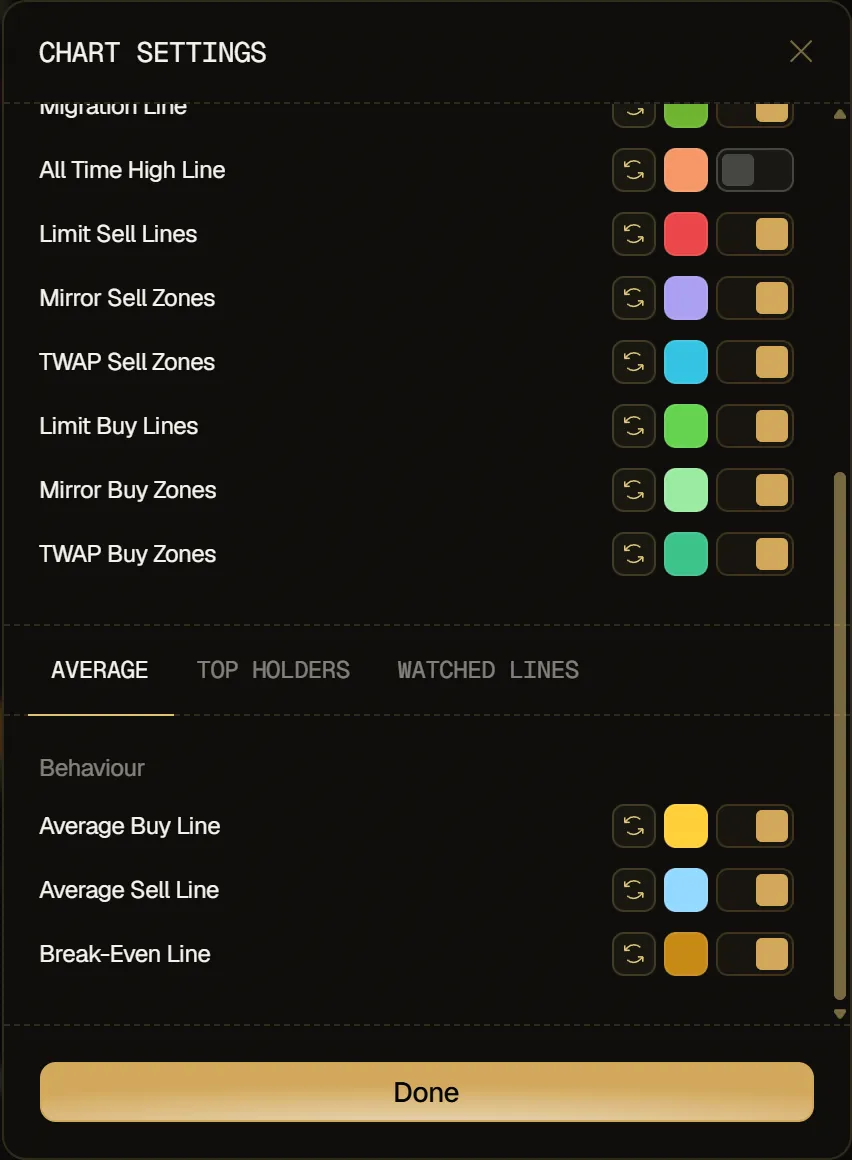
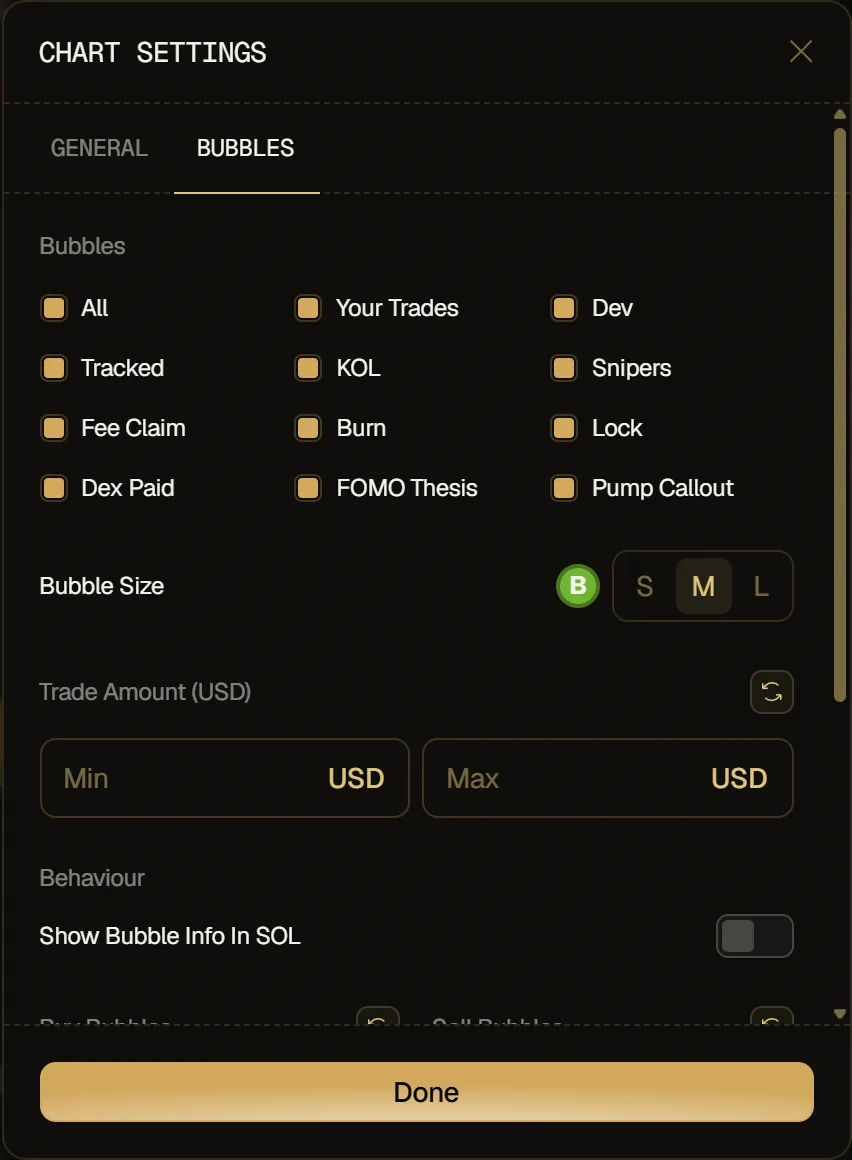
Customize your chart in two tabs. General sets how the chart opens and its font size, and turns each line on or off, with its own color: the Migration Line, the All Time High Line, the lines and zones of your strategies, your average buy, average sell and break-even, and the lines of the top holders, KOLs and tracked wallets. Bubbles chooses which bubbles the chart draws (your trades, the dev, tracked wallets, KOLs, snipers, fee claims, burns, locks, Dex Paid, FOMO theses and Pump callouts), their size and their colors.
Token Metrics
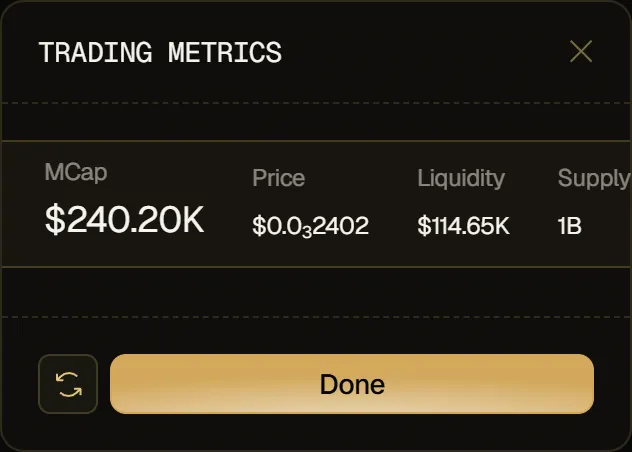
Section titled “Token Metrics”Rearrange the token's trading metrics to put the information that matters most up front.
Buy/Sell Display
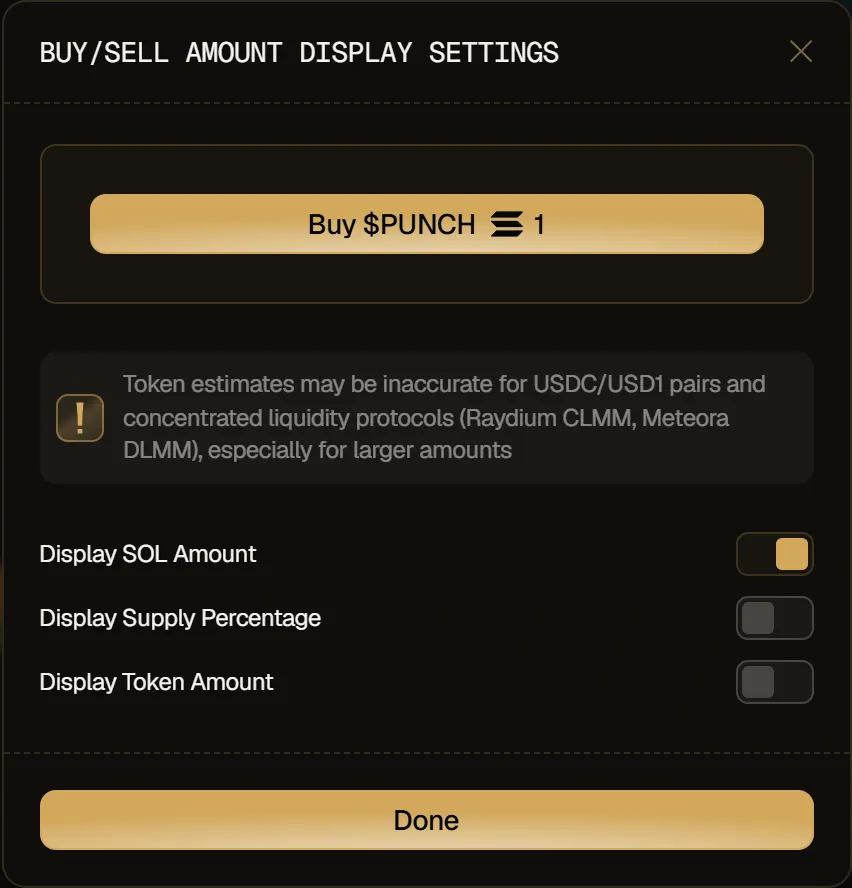
Section titled “Buy/Sell Display”Choose what the buy/sell buttons show, so you see exactly how much you're trading: Display SOL Amount, Display Supply Percentage and Display Token Amount. Turn on one or several.
Instant Trade
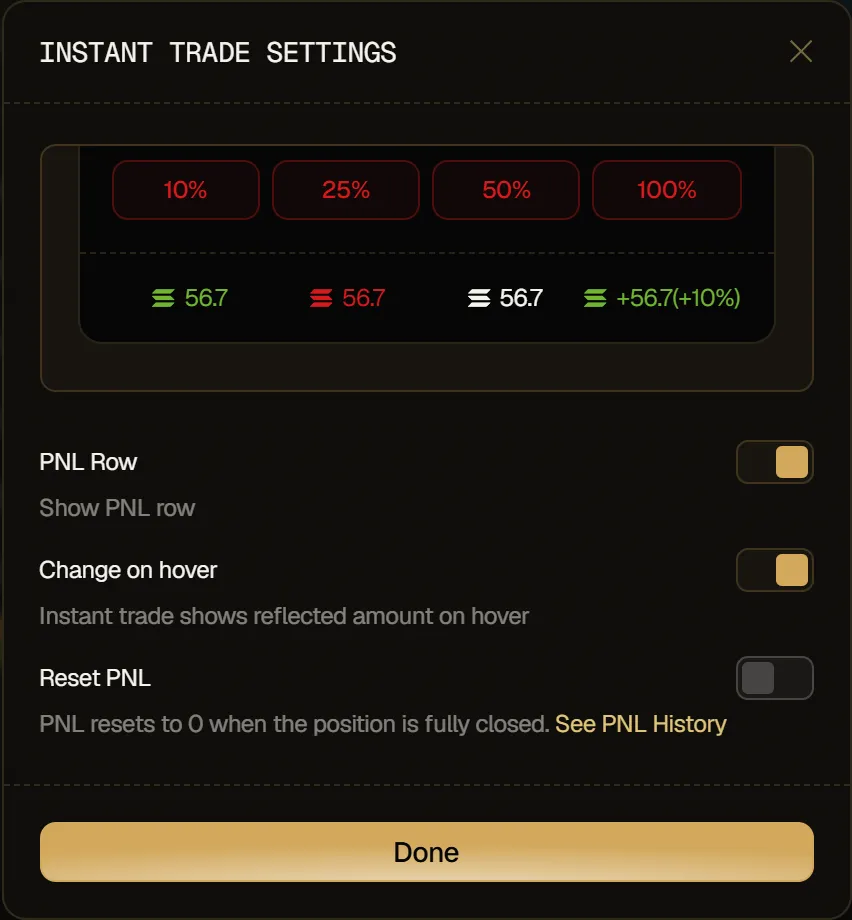
Section titled “Instant Trade”Configure the instant trade widget: show the PNL Row, show the amount a button would trade when you hover it (Change on hover), and reset your PNL to 0 once a position is fully closed (Reset PNL).
Multi Wallet
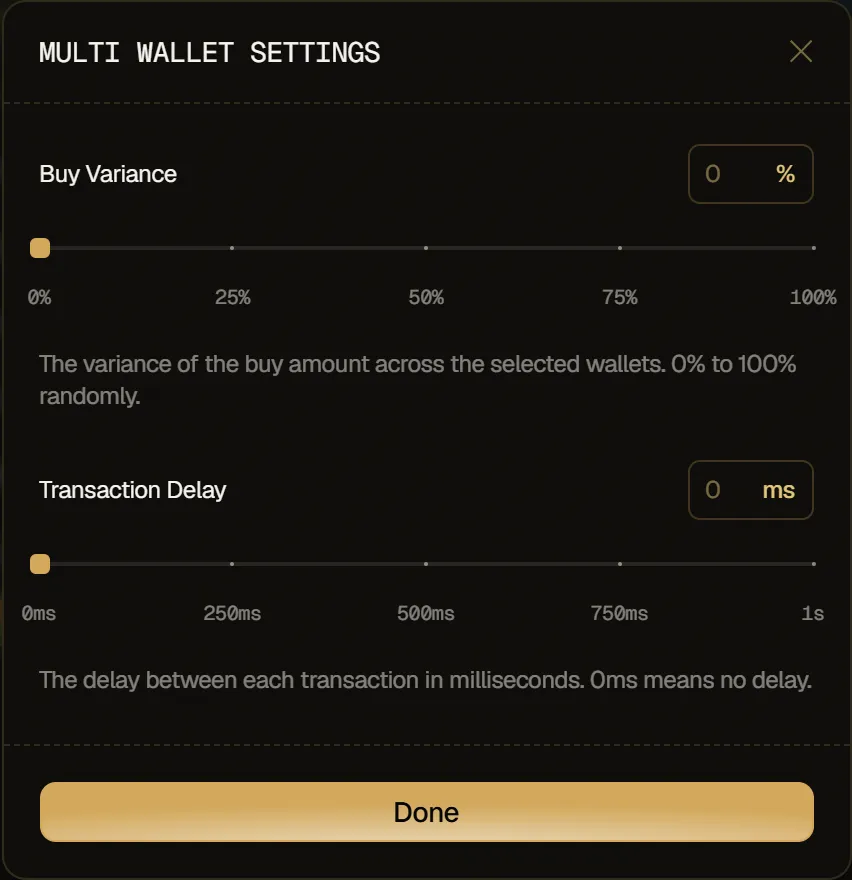
Section titled “Multi Wallet”Make multi-wallet buys look more organic. Buy Variance (0 to 100%) randomly varies the buy amount across the selected wallets, and Transaction Delay (0 to 1,000 ms) sets a delay between each transaction.
Buy/sell panel and tables
Section titled “Buy/sell panel and tables”Buy/Sell presets
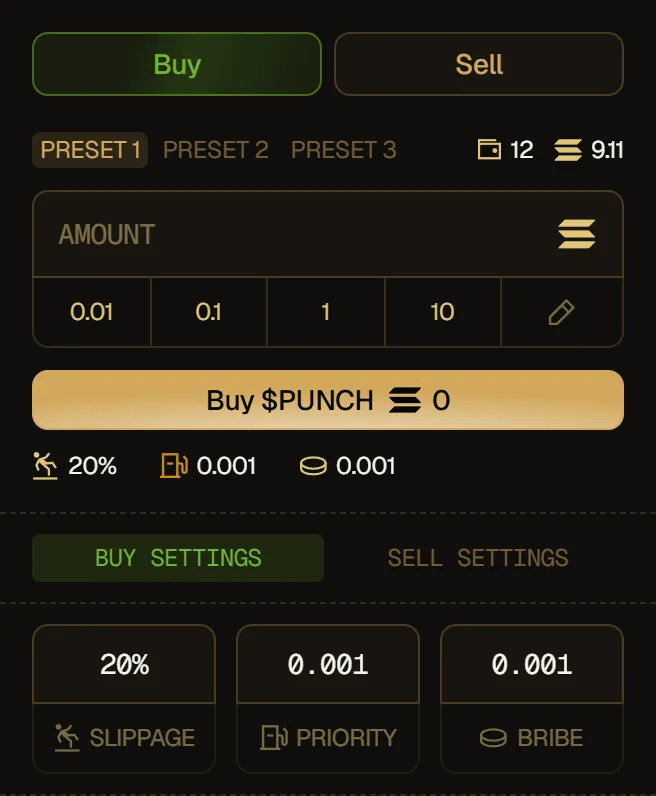
Section titled “Buy/Sell presets”You have 3 presets (Preset 1, Preset 2, Preset 3) for different trading styles or situations. Pick one above the amount field in the buy/sell panel on the right of the token page: each preset has its own Buy settings and Sell settings, with Slippage, Priority and Bribe. Click Buy settings or Sell settings under the buy/sell button to edit them.
Priority and Bribe only show for Pump.fun, Let's Bonk, StonkFun and Meteora tokens. They are capped at 0.1 SOL and 0.01 SOL, and a priority fee above 0.02 SOL is flagged in orange.
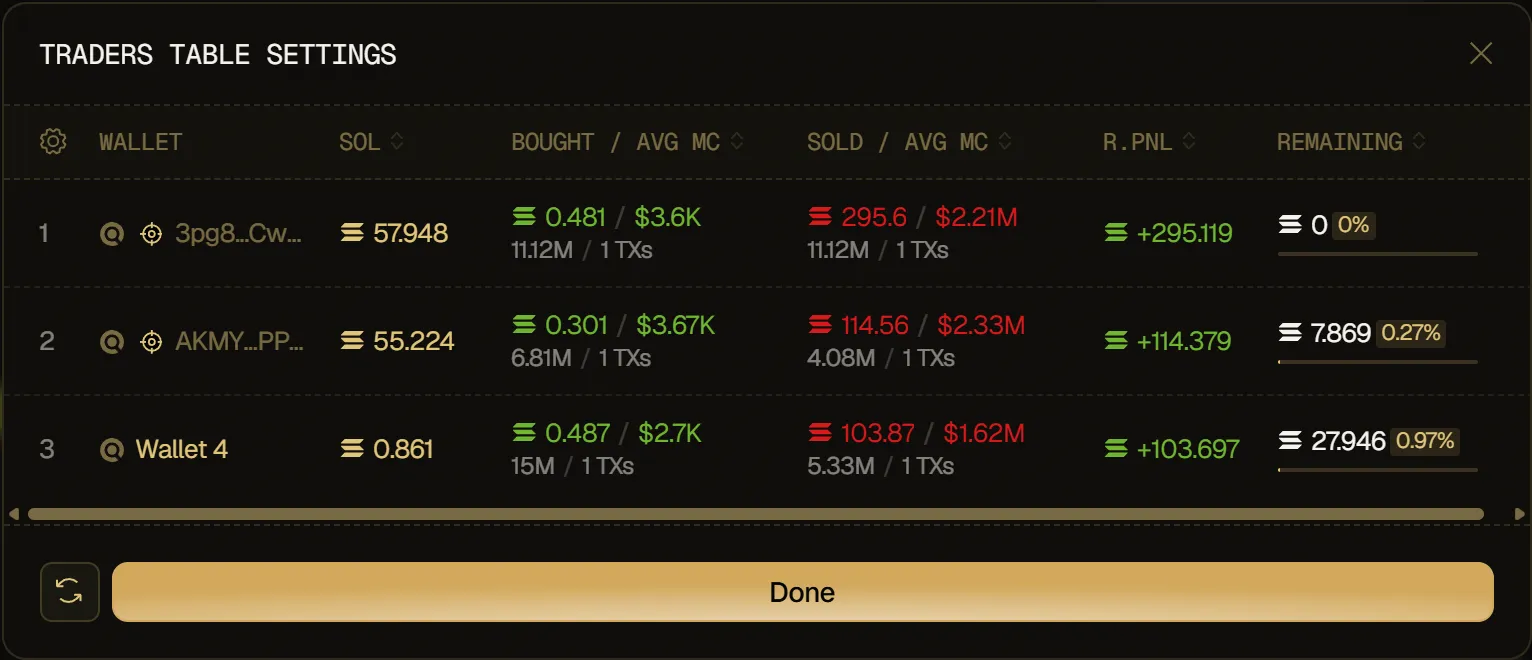
Traders table
Section titled “Traders table”Click the gear at the start of the table's header row, drag the column headers to rearrange the columns, then click Done.