Get Started
Onboarding
Create your Ora account, save your recovery key, add funds and join the community.
This guide walks you through setting up Ora. By the end, your account is ready for your first token.
Getting started
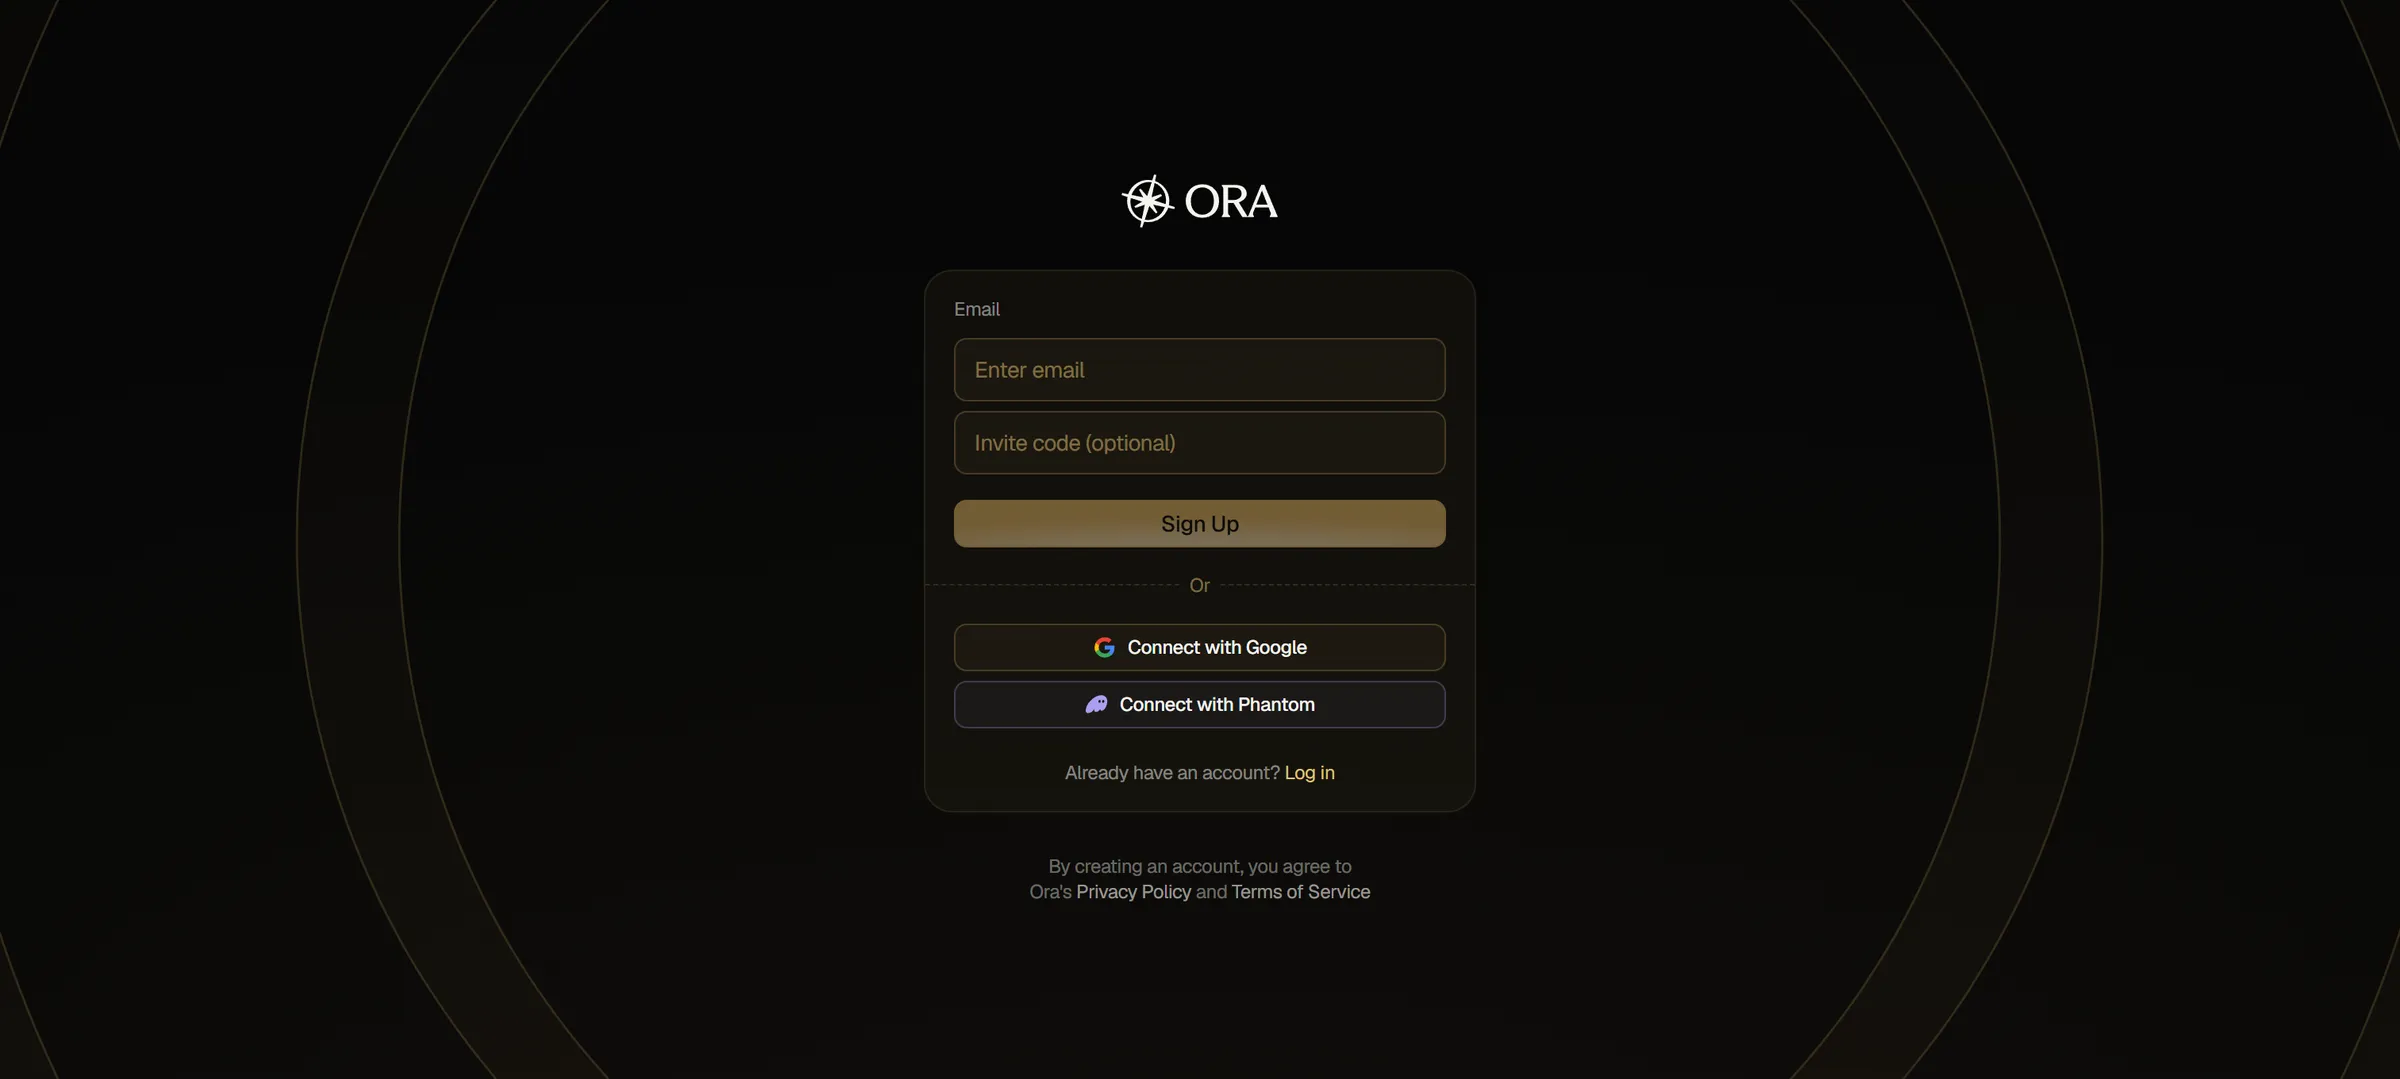
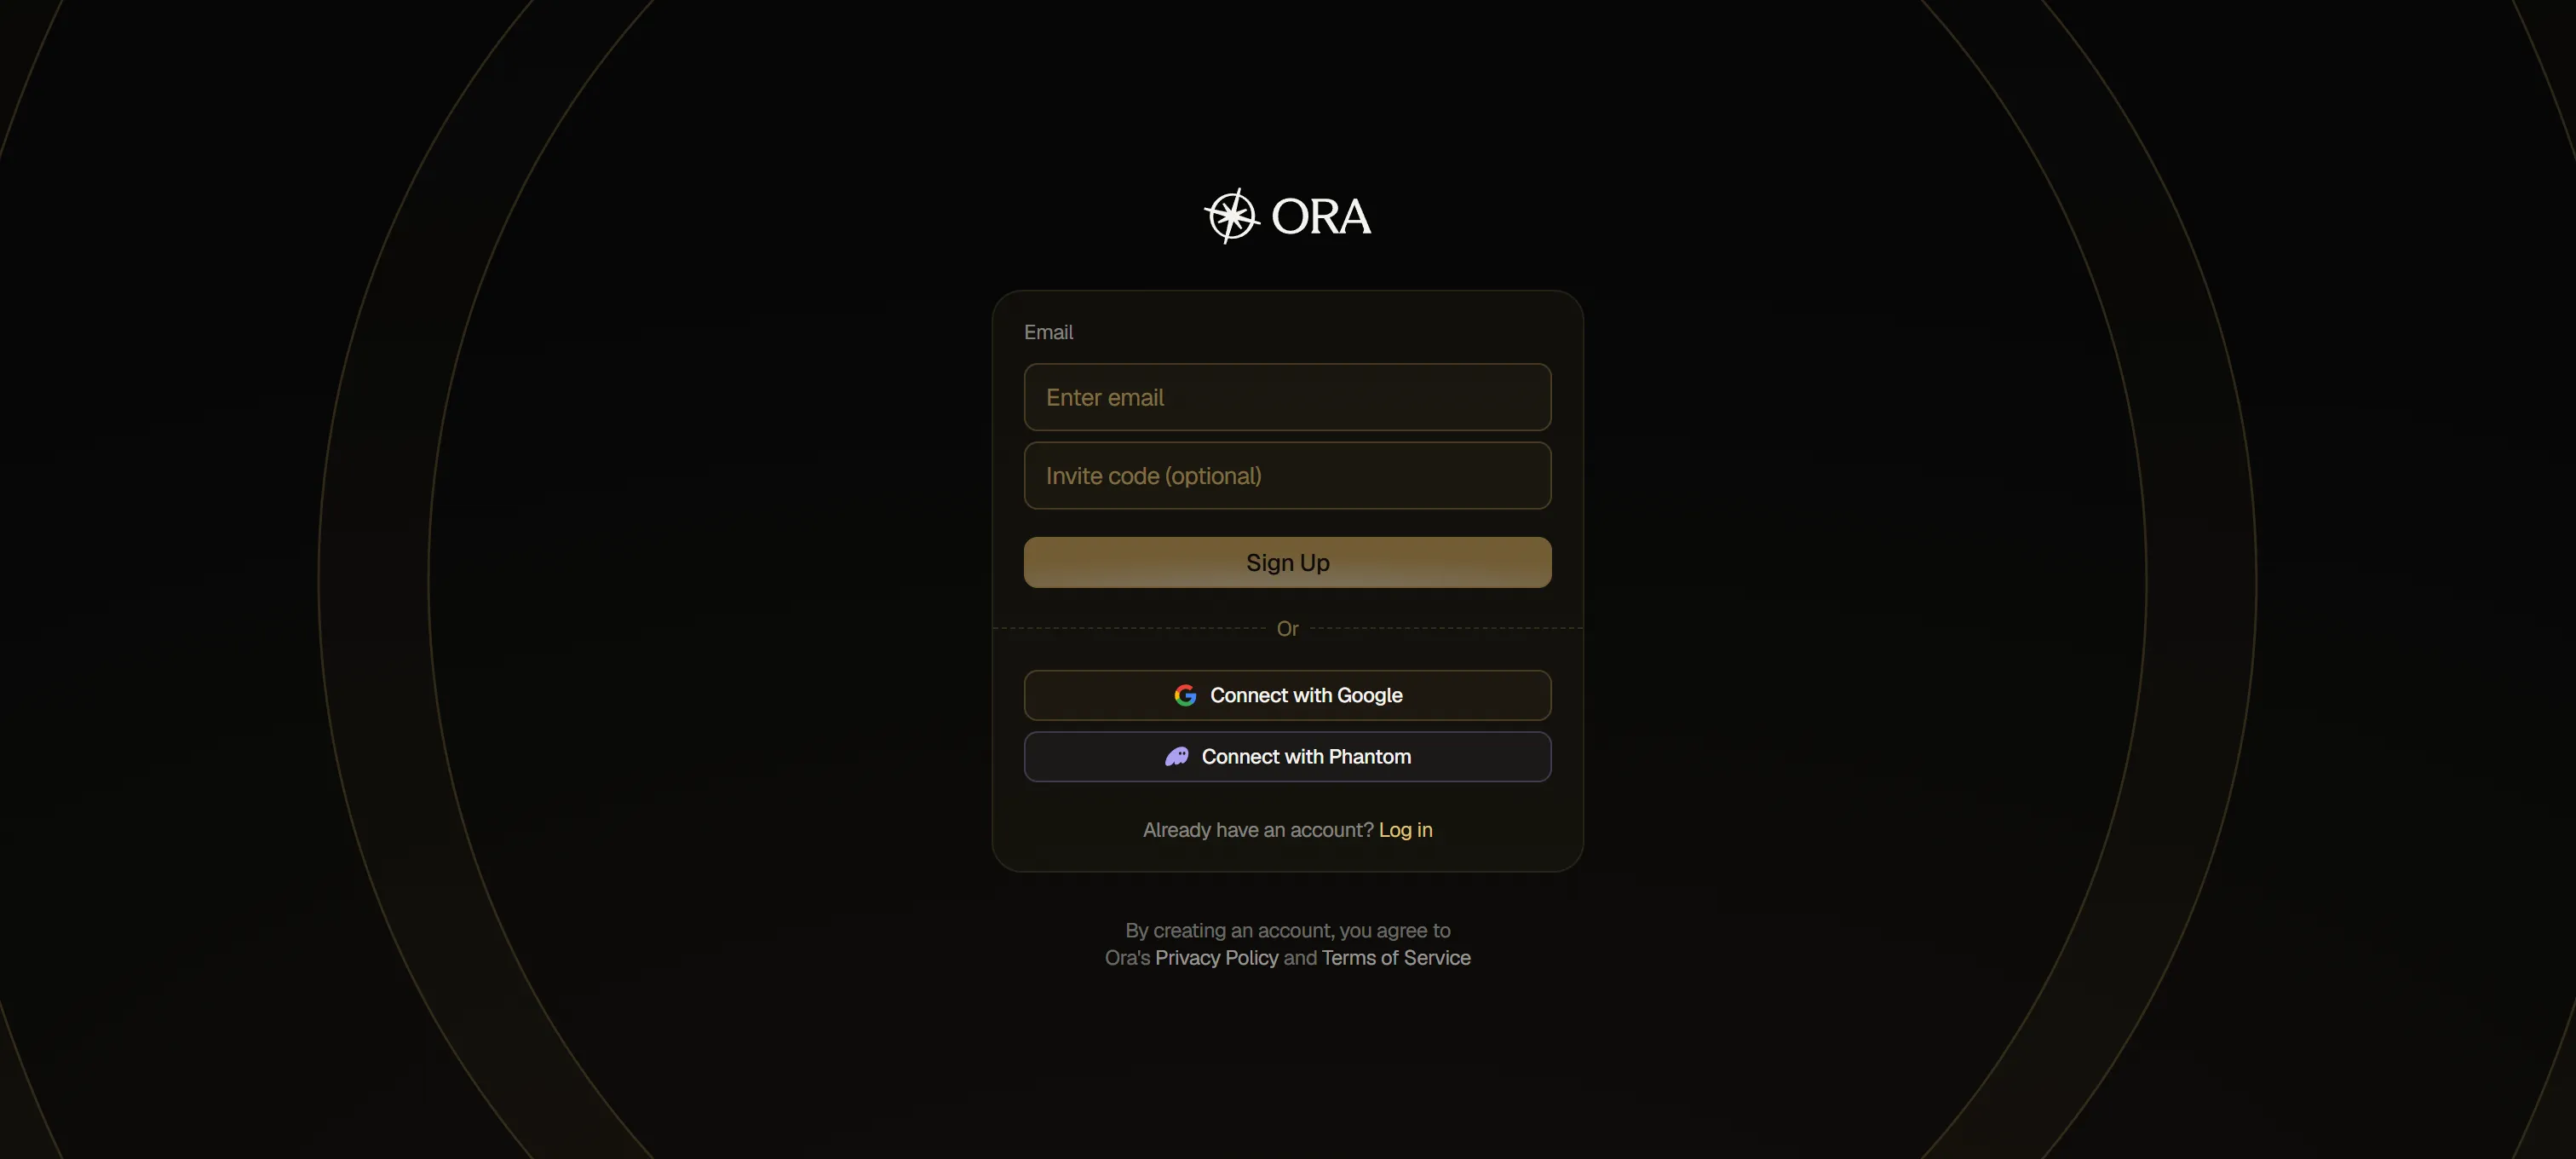
Section titled “Getting started”You'll need to create an account before you can launch your first token. Sign up with your email (Ora sends you a verification code), with Connect with Google, or with Connect with Phantom.
Sign-up and sign-in are powered by Turnkey, which also creates a self-custodial wallet for you automatically, with a Solana address and a Robinhood address. There's nothing to install or configure, and this wallet is your main wallet.
Right after sign-up, Ora opens a short onboarding window. It has three steps, and it stays open until you click Start at the end.
Saving your recovery key
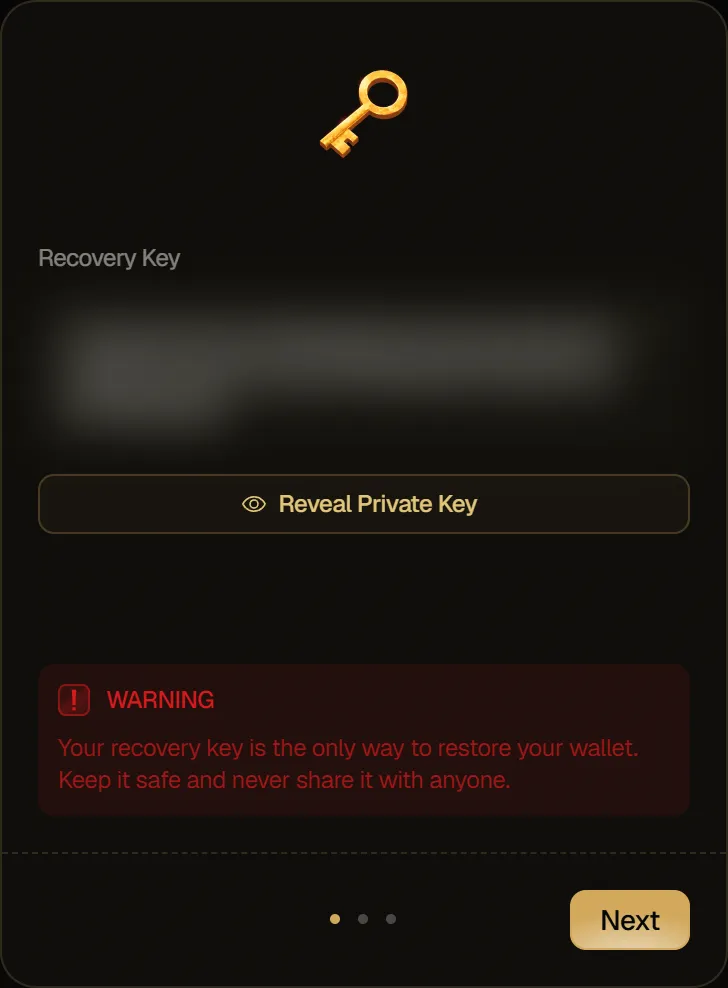
Section titled “Saving your recovery key”The first step shows your Recovery Key: the private key of your Solana wallet.
- Click Reveal Private Key to show it.
- Click the key to copy it, and store it somewhere safe.
- Click Next. It's available once your key has loaded.
Deposit
Section titled “Deposit”The second step helps you add funds. Pick a network in the network menu: each network has its own deposit address, and the line under it tells you which coin to send there, USDC on Solana or USDG on Robinhood Chain. Balance shows how much of that coin you already hold. Scan the QR code or click the address to copy it, then send that coin to it over that network. What you deposit is added to your balance in dollars. USDG moves to your USDC balance on Solana the next time you open Ora, once it's worth $5 or more.
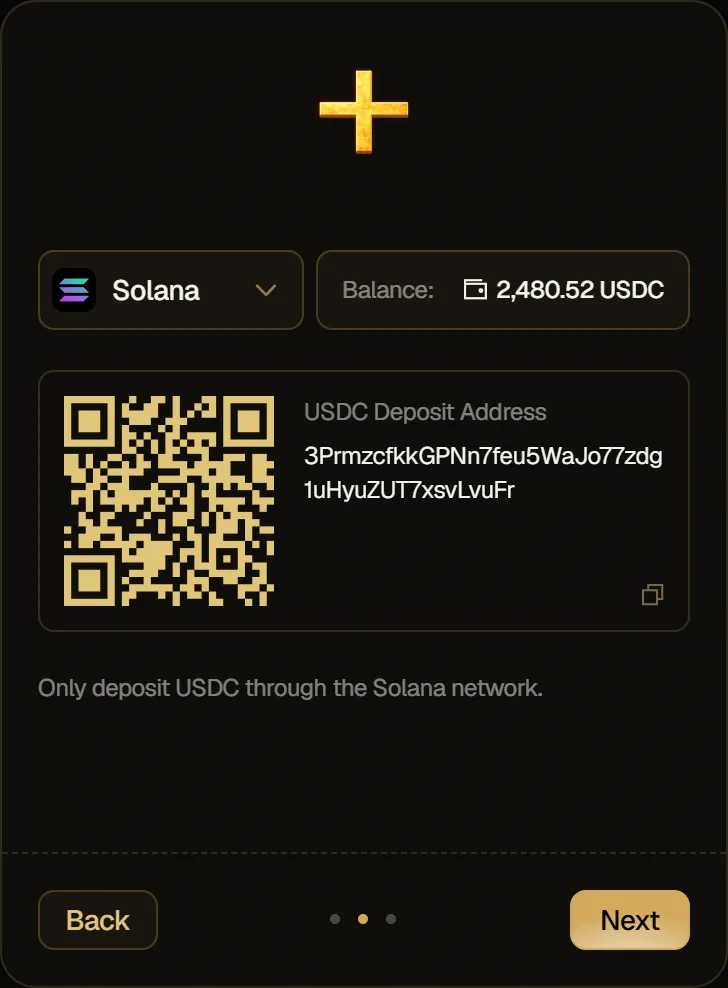
You can deposit at any time later with Deposit in the header. See Deposit & Withdraw.
Join our social channels
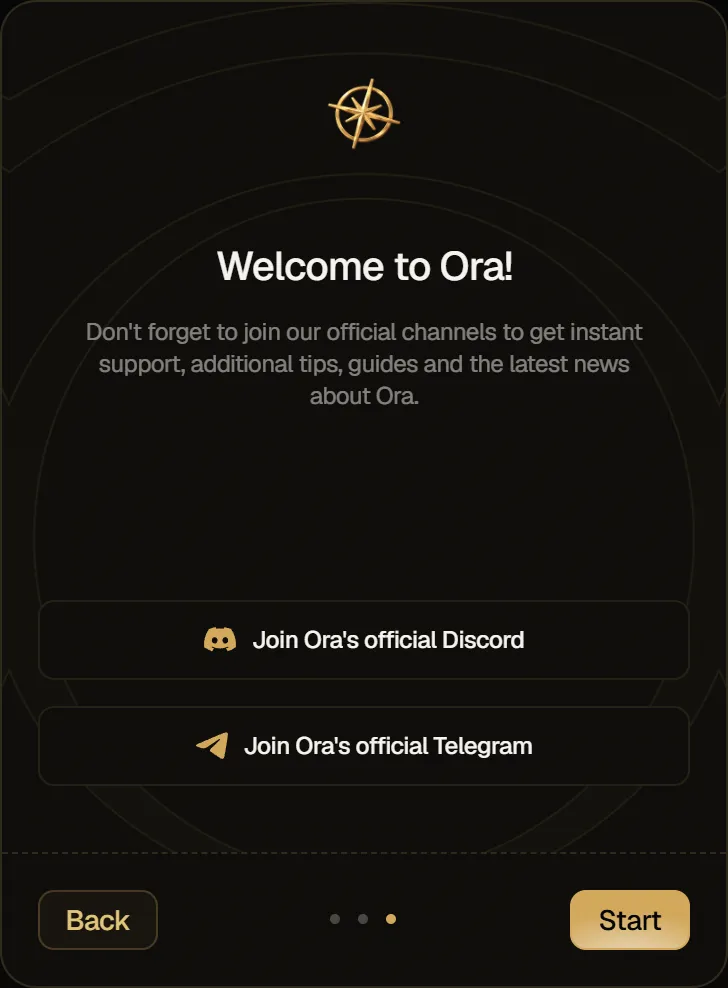
Section titled “Join our social channels”To finish, join Ora's official channels to get support, tips, guides and product news: Join Ora's official Discord and Join Ora's official Telegram.
Click Start to close the onboarding and land on your Profile page.